
With the Nvidia Jetson Nano, you can construct robust stand-alone hardware systems capable of running GPU-accelerated deep learning models on a modest budget. It’s similar to a Raspberry Pi, yet significantly faster.
Introduction to the Project
Using face recognition and Python, you can effectively monitor anyone approaching your door. Let’s embark on a practical hardware project utilizing the Jetson Nano to create a simplified version of a doorbell camera. This system can track individuals arriving at your home’s front door, recognizing them instantly—even if their appearance has changed. If they have previously visited, it can log exactly when and how often.
Understanding the Nvidia Jetson Nano
For many years, Raspberry Pi has been the go-to choice for developers interested in building hardware devices. The Raspberry Pi is a $35 computer-on-a-board that runs Linux and fully supports Python, allowing users to create stand-alone computer vision systems with additional components, such as a $20 camera module.
While the Raspberry Pi is remarkable, it can struggle with deep learning applications due to its non-existent GPU and relatively slow CPU, leading to laggy performance. Recognizing this gap, Nvidia developed the Jetson Nano—a Raspberry Pi-like device featuring an embedded GPU, specifically designed for efficient deep learning model execution.
The Jetson Nano operates as a Linux computer on a single board, boasting a 128-core Nvidia GPU for deep learning acceleration. It also supports CUDA libraries, allowing existing Python-based deep learning frameworks to run on the Jetson Nano with minimal adjustments.
What You’ll Need
To kickstart this hardware project, gather the following components:
- Nvidia Jetson Nano board ($99 USD) – Ensure you purchase from a reputable source to avoid scams.
- MicroUSB power plug (~$10 USD) – Use a compatible power adapter that meets the Jetson Nano’s power requirements.
- Raspberry Pi Camera Module v2.x (~$30 USD) – Ensure it’s a v2.x version, as the earlier model isn’t supported by the Jetson Nano.
- Fast microSD card (at least 32GB, ~$10-$25 USD) – Consider a larger capacity card to avoid running out of storage.
- Additional hardware you might already have at home:
- microSD card reader for software installation.
- Wired USB keyboard and mouse for setup.
- Monitor or TV with HDMI support for setup.
- Ethernet cable (the Jetson Nano does not support Wi-Fi natively).
By gathering these components, you can complete the project for under $150.
Setting Up the Jetson Nano Software
Before assembling your hardware, download the required software image:
- Download the Jetson Nano Developer Kit SD Card Image from Nvidia.
- Use Etcher to write this image onto your microSD card (this process takes about 20 minutes).
Assembling the Hardware
- Insert the microSD card into the Jetson Nano’s SD card slot.
- Connect the Raspberry Pi v2.x camera with the appropriate ribbon cable.
- Plug in the keyboard, mouse, and monitor, followed by connecting the power supply to boot the device.
Initial Setup and Configuration
On first boot, follow the typical Ubuntu Linux user creation process. Pytho3 and OpenCV will already be installed. Next, ensure you install the necessary Python libraries for your project:
sudo apt-get update
sudo apt-get install python3-pip cmake libopenblas-dev liblapack-dev libjpeg-dev
Next, you may need to create a swapfile to aid compilation of necessary libraries due to the device’s RAM limitations.
Installing Additional Libraries
Install NumPy and Dlib, as they are essential for our face recognition application:
pip3 install numpyFinally, install the face_recognition library, which simplifies the face detection process.
Implementing the Face Recognition System
Write a Python application to capture video from the camera, detect faces, and log visits. Your script will handle the main loop, calling various functions to capture frames, process faces through the recognition pipeline, and display results in real-time.
Testing and Optimizing the System
Thoroughly test your system under various conditions to ensure reliability.
By taking these steps, you’ll create a functioning hardware-based face recognition system powered by the Nvidia Jetson Nano.
Images Created:
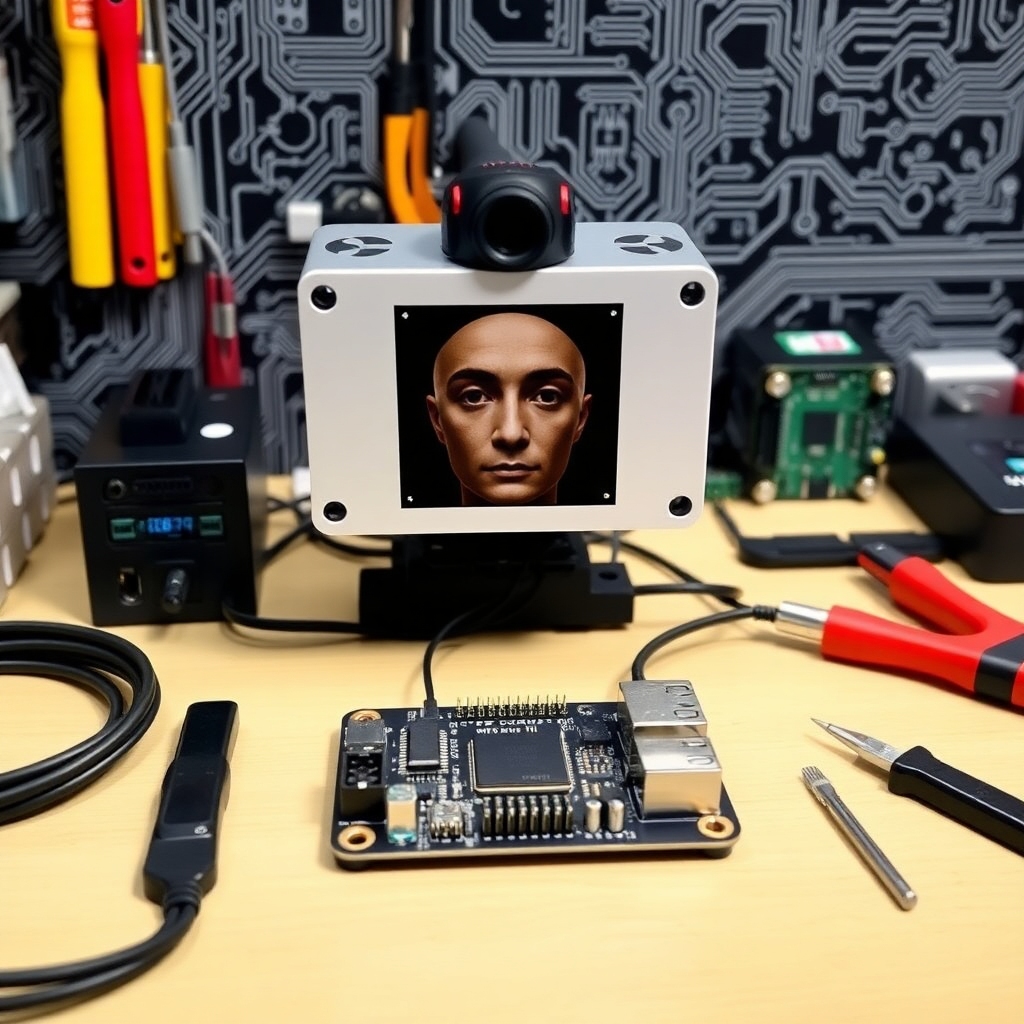
- A sleek and modern hardware-based face recognition system built using Nvidia Jetson Nano:
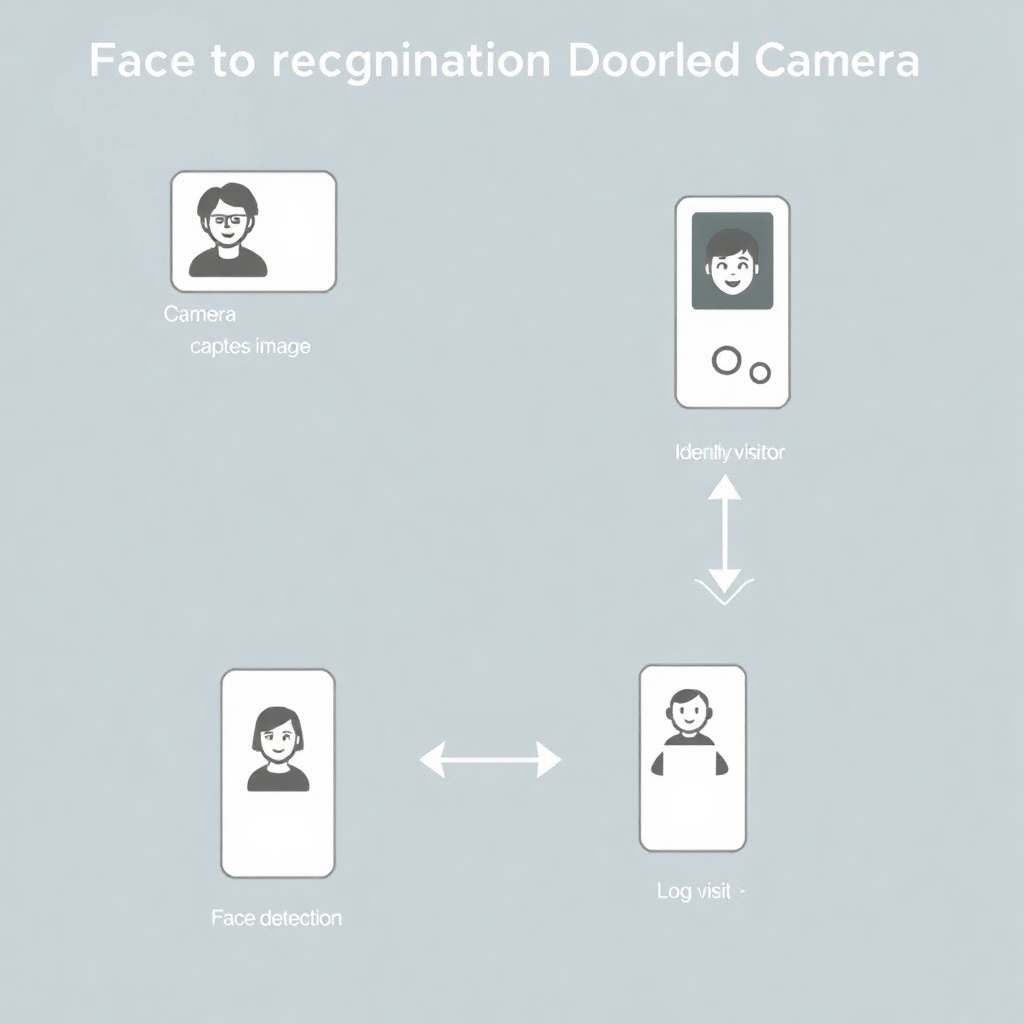
- Workflow of a face recognition doorbell camera system:
- A close-up shot of the Nvidia Jetson Nano board on a workbench:

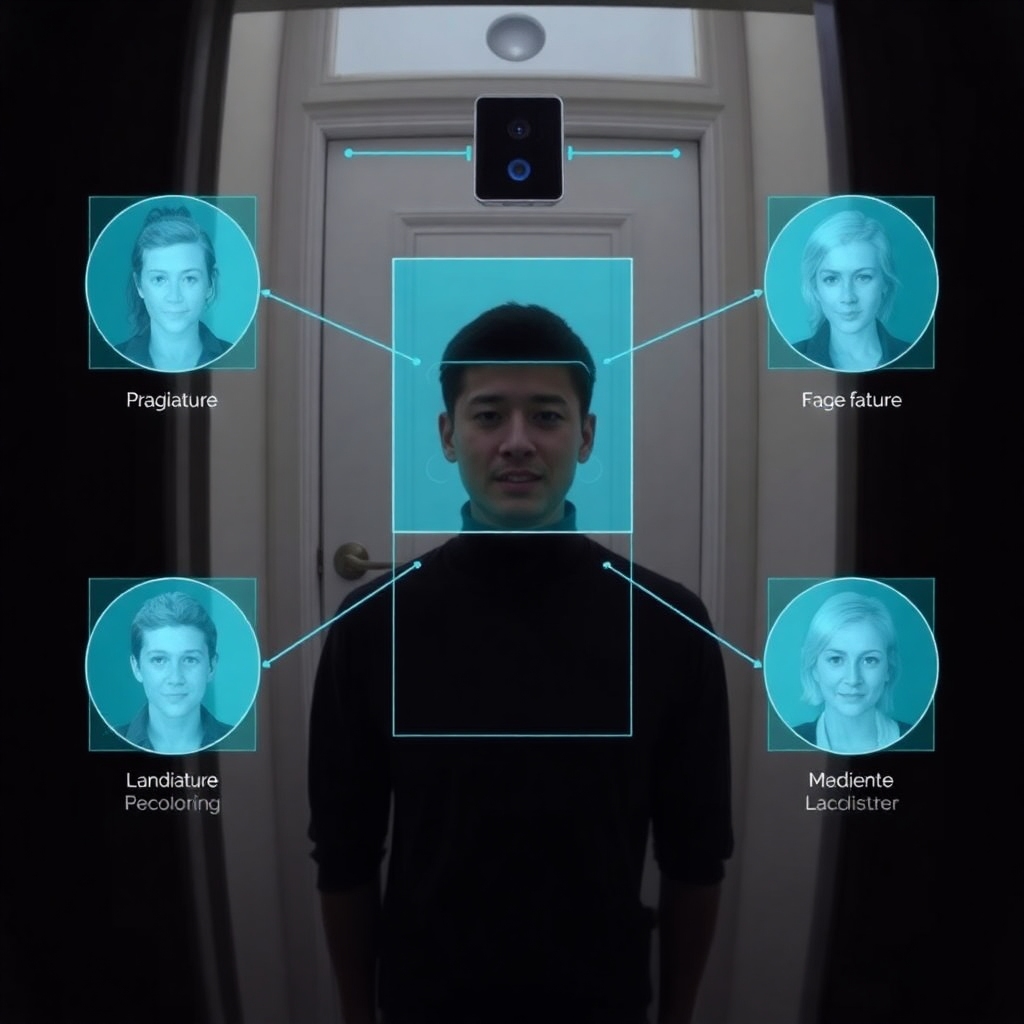
- Face recognition technology in action:
Feel free to ask if you have any more questions!